Building My Own Robotic Pet
Just graduated ![]() with my master’s degree and nothing planned in the short term. How to make the best use of this free time? Well, what could be better than building your own robotic pet?
with my master’s degree and nothing planned in the short term. How to make the best use of this free time? Well, what could be better than building your own robotic pet?
This will be an awesome, multidisciplinary project with lots of things to design and consider. Honestly, it might be the best project I’ve ever done.
One post won’t be enough to cover everything; we’ll go step by step through the whole process, from the design phase all the way to building.
 Silouette
Building something from scratch allows you to design every single part of the project.
Starting from what I like most seems reasonable. For mobility, I’ll go with a quad-wheeled robot; I’ve always been fascinated by them. At the same time, based on my past experiences, humanoid features are always appreciated.
So why not merge the two ideas? A quad-wheeled humanoid robot!
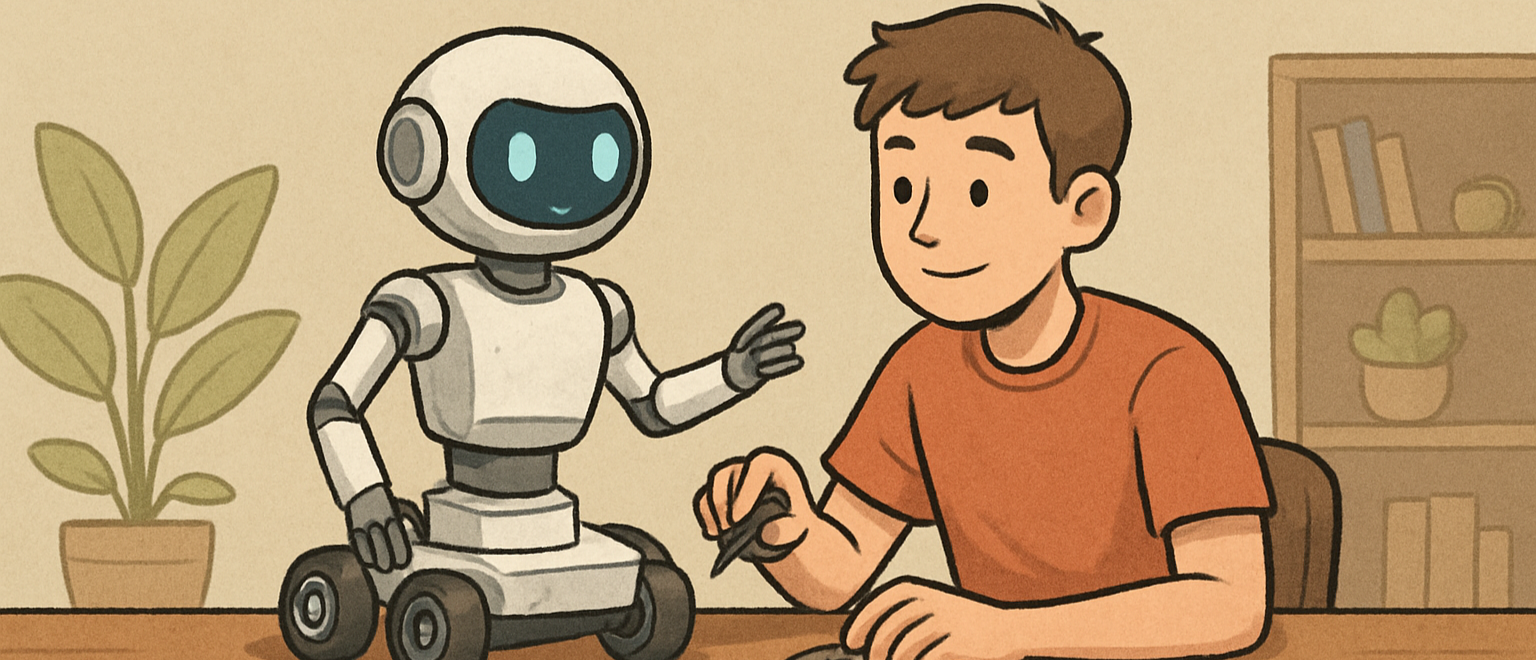
The face will be a mix between Hollow Knight and Wall-E: a smooth, clean design with big eyes.
For the theme, I want to give it a fire-based personality; imagine it as a fiery soul. LUMINO ![]() ; that will be its name. I already love it!
; that will be its name. I already love it!

GPT’s sketch made it look a bit aggressive and dystopian, but I promise you; this will be a cute and lovable pet.
 Designing Lumino’s Features
Lumino will be a humanoid-like, quad-wheeled desk pet.
To interact with it without using hands, it will need a speaker and a microphone: “Hey Lumino, follow me!”
Then, two displays (one for each eye) and a main board; most likely a Raspberry Pi 4 Model B. I’ll run some tests with my Raspberry Pi Zero W, but I suspect its 512 MB of RAM won’t be enough.
It will also need a motor driver, two small geared DC motors, and four wheels (two passive casters and two driving wheels).
A tactile sensor will be useful so it can respond to touch.
And last but not least, a camera. Perhaps the official Raspberry Pi camera will work fine, but we’ll look at specific parts in a later post.
For the power supply, a classic wired connection will be enough for now, but later upgrades could give Lumino a battery.
 Conclusion
This first post was a bird’s-eye view of the overall project. In future posts, we’ll dive step by step into the engineering and design.
I’m really excited to share the journey!
P.S.: I’ll try to post an update every week. See you next time! ![]()