Hardware and Software of Lumino
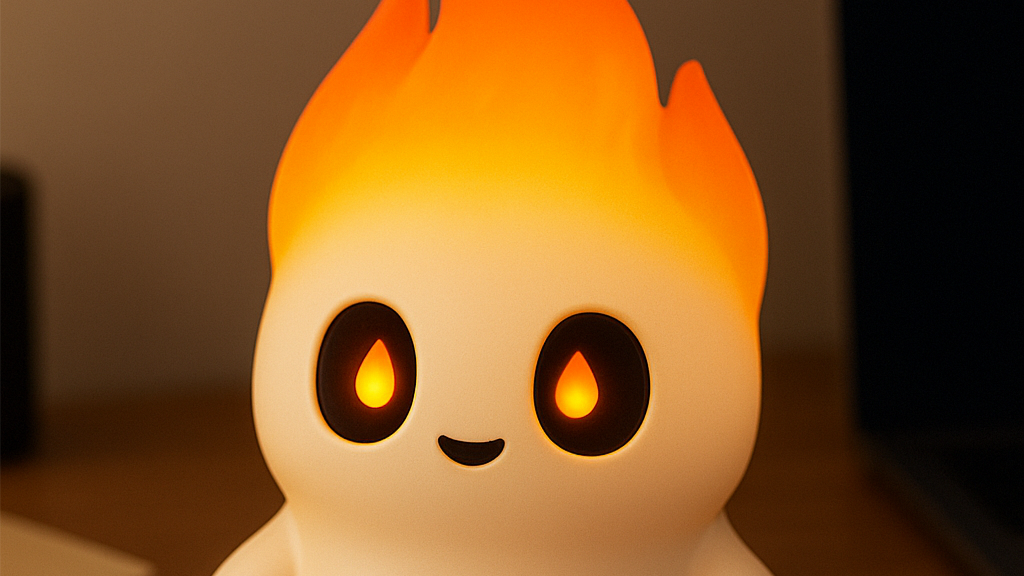
This will be an important discussion: we are going to decide how to build Lumino! ![]()
There are two main aspects to cover: hardware and software. Both are quite important for the future development, the hardware provides the internal capabilities, while the software dictates how those capabilities evolve.
 Hardware
Let’s start from the core: the board. As mentioned in the previous post, I prefer a Raspberry-based system. Why? No special reason, really. It has a huge community, and more importantly, I already have a Raspberry Pi Zero W. I’ll begin with than, then if 512 MB of RAM won’t be enough, I’ll switch to a Raspberry PI 4 Model B with 4 or 8 GB of RAM, just to be on the safe side. The Zero costs about 15€, while the Pi 4 ranges from 60€ to 80€, depending on RAM.
 Raspberry Pi Zero W
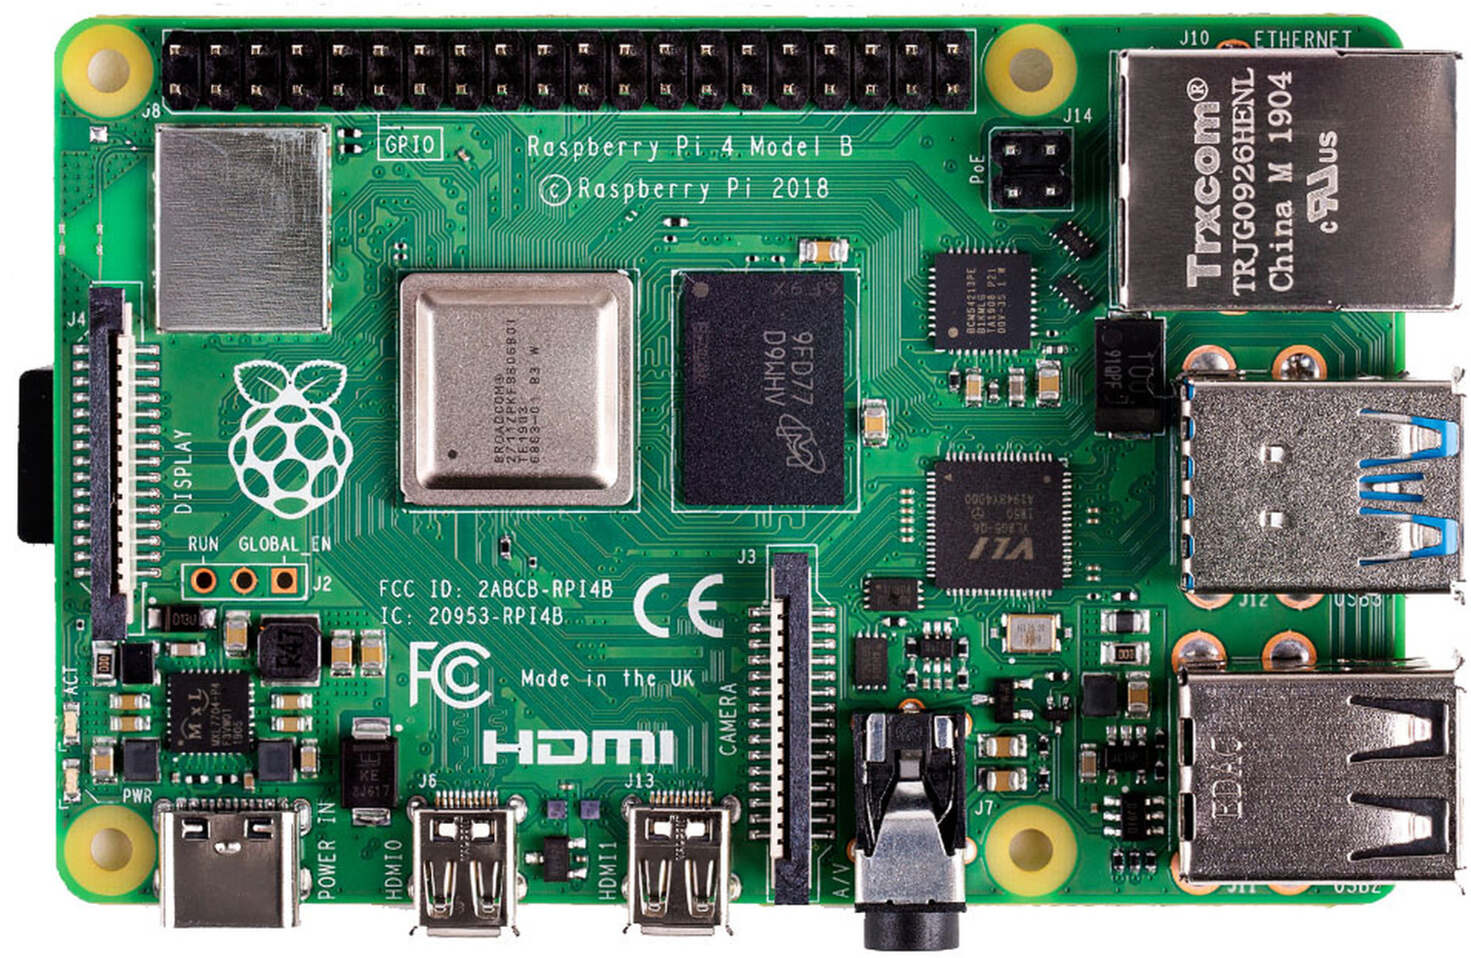 Raspberry Pi 4 Model B
 Motors
For the base, we’ll need two motors for the driving wheels and two additional caster wheels. I’ve found suitable the N30/N20 geared motors. The N30 has more torque but is also longer, so the final choice will depend on the robot’s design.
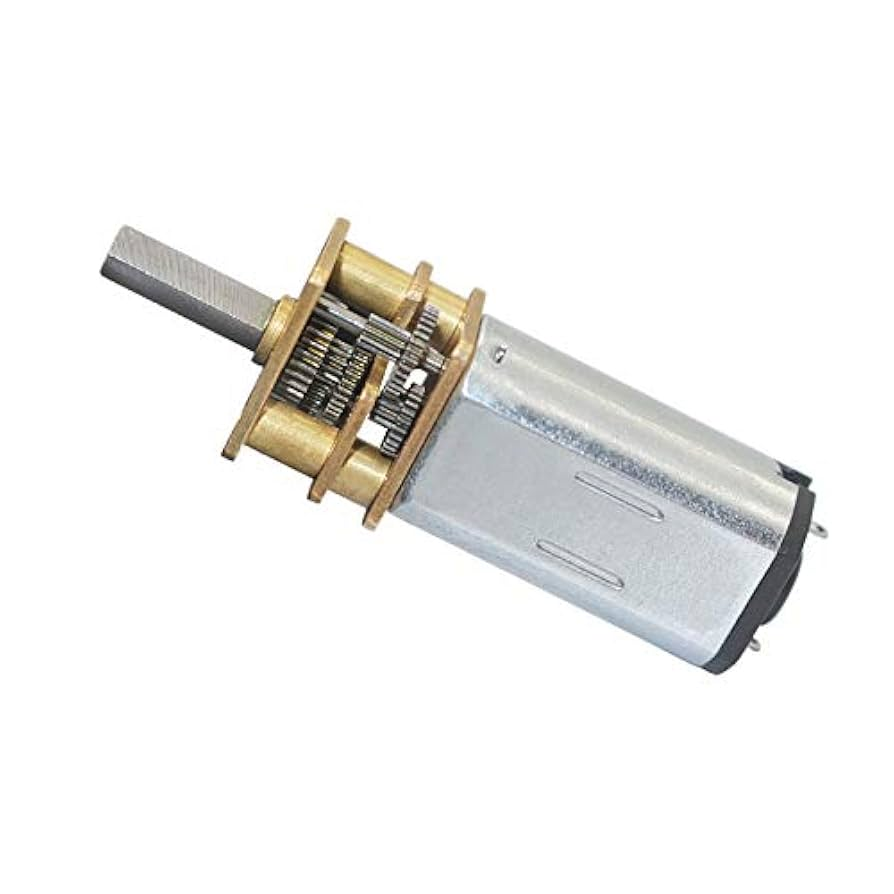 N30 geared motor
Both the N30 and N20 cost about 1€ each. Ironically, the tire for that motors, costs more then the motor itself, about 1.5€ per tire.
 Sensors
Lumino will include:
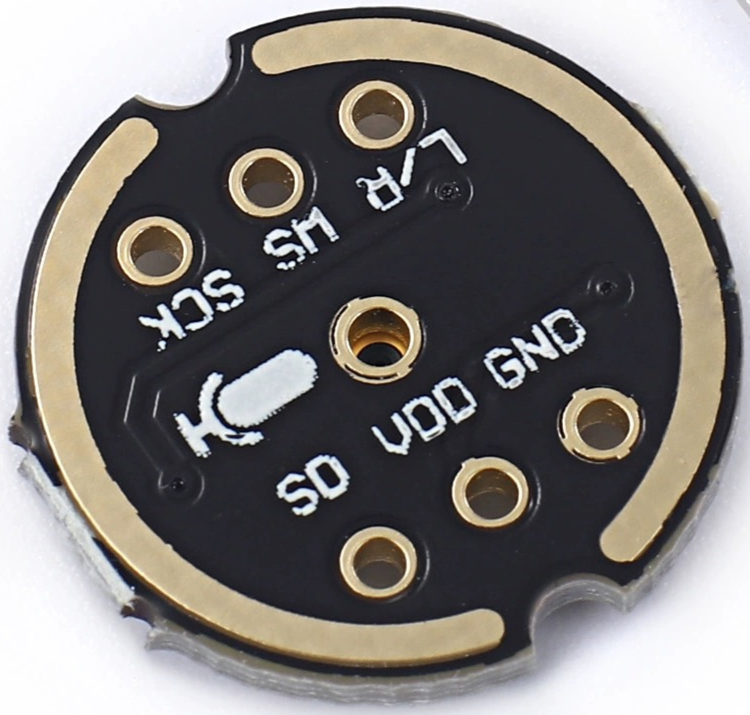
- a force sensitive resistor/pressure sensor ($\approx 1€$), to make it reactive to touch or petting
- a camera sensor ($\approx 2€$ for third-party, more for an official one), for whatever vision based task, like face recognition
- (optional) bumpers or ultrasonic sensors, for surface exploration without colliding or falling, i.e. navigation and obstacle avoidance tasks. I’ll decide later whether to include these
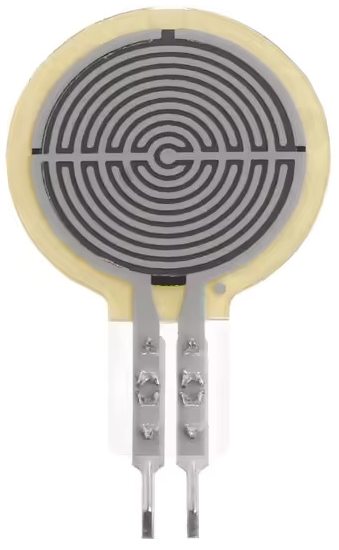 pressure sensor
RP-C18.3-ST
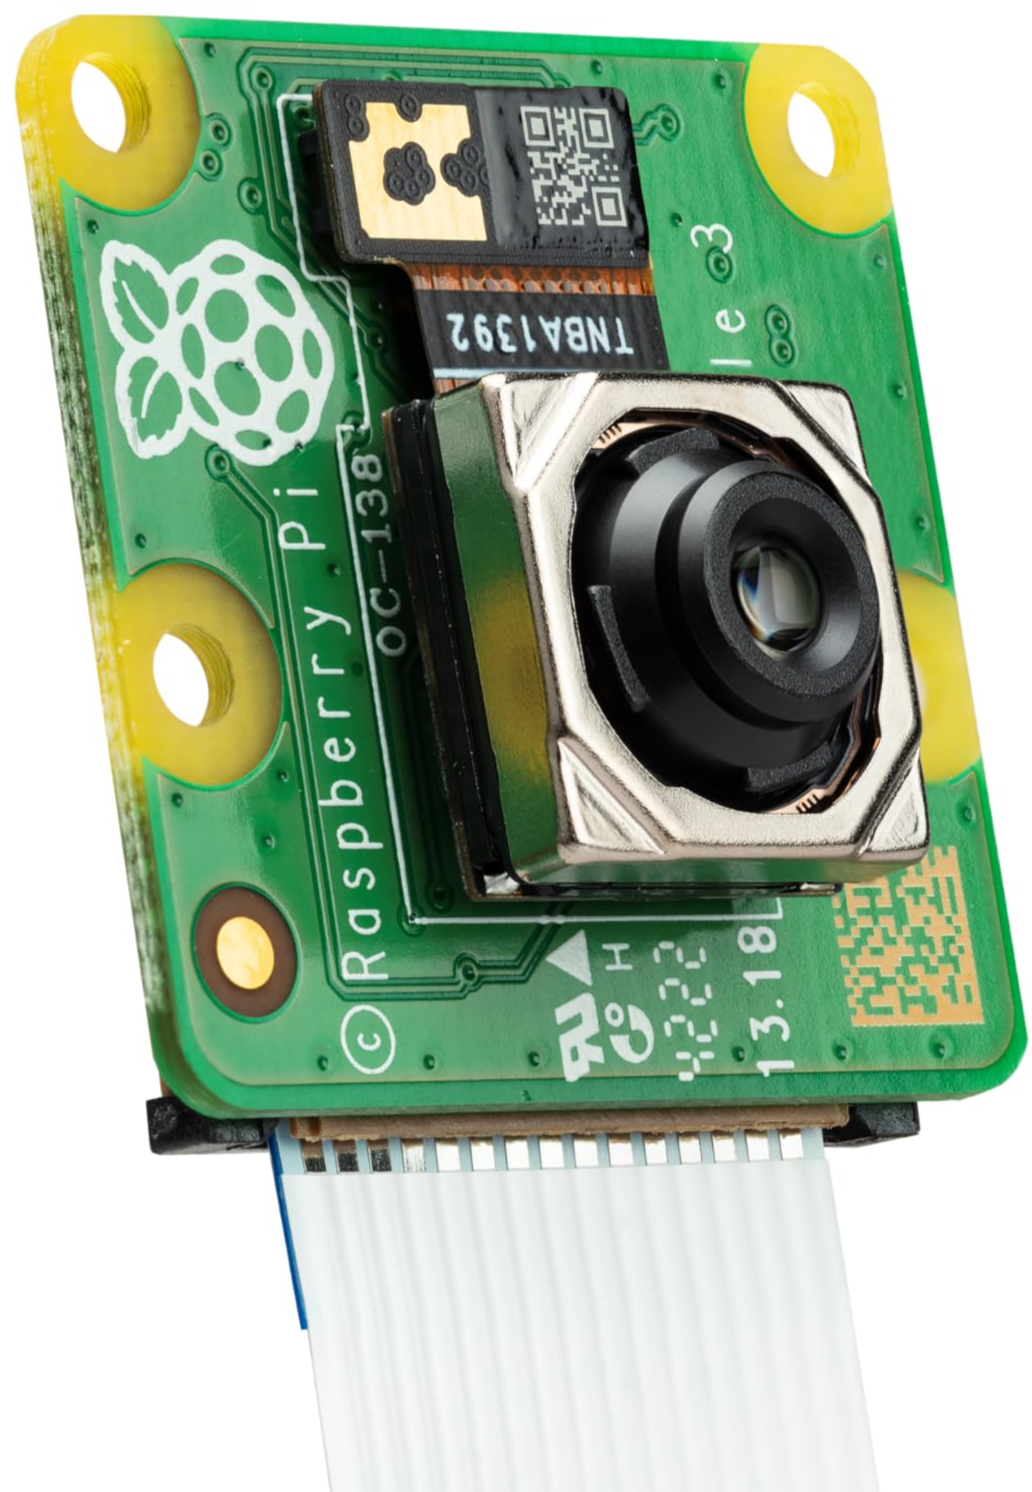 Raspberry camera module
 Audio
Audio
In order to make Lumino responsive to “Hey Lumino”, it needs a microphone. A simple omnidirectional microphone ($\approx 1€$) will be fine. To let Lumino talk or make sounds, a speaker is mandatory. A horn speaker ($\approx 1€$) will be enough for our purposes.
 omnidirectional mic
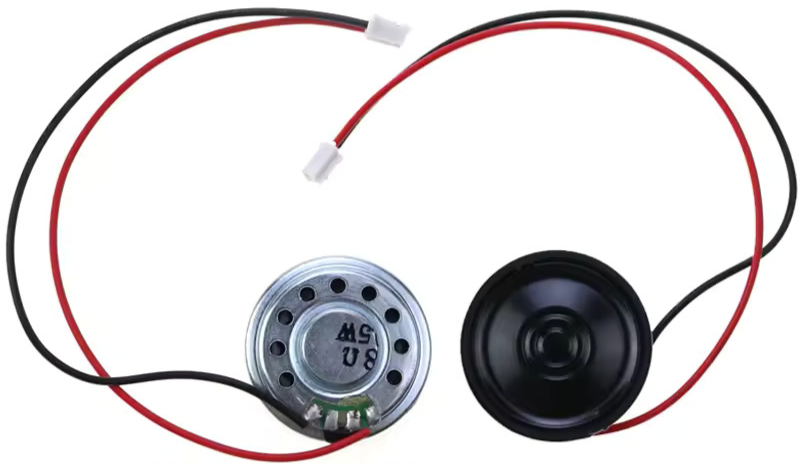 horn speaker
 Display
Lumino will have two small displays, one per eye. Doing so, we can control each eye independently, as well as display some cool graphics splitted between them; e.g. being a robotic pet, a useful functionalicy is the clock, in one eye there will be the hours, while in the other the minutes.
However, this setup limits what we can show: since we do not have a proper ‘big’ display, there’s no space for text, plots or infographics.
The only budget rounded display I’ve found are the TFT (Thin-Film Transistor) from Tiardey which costs about 8€ each.
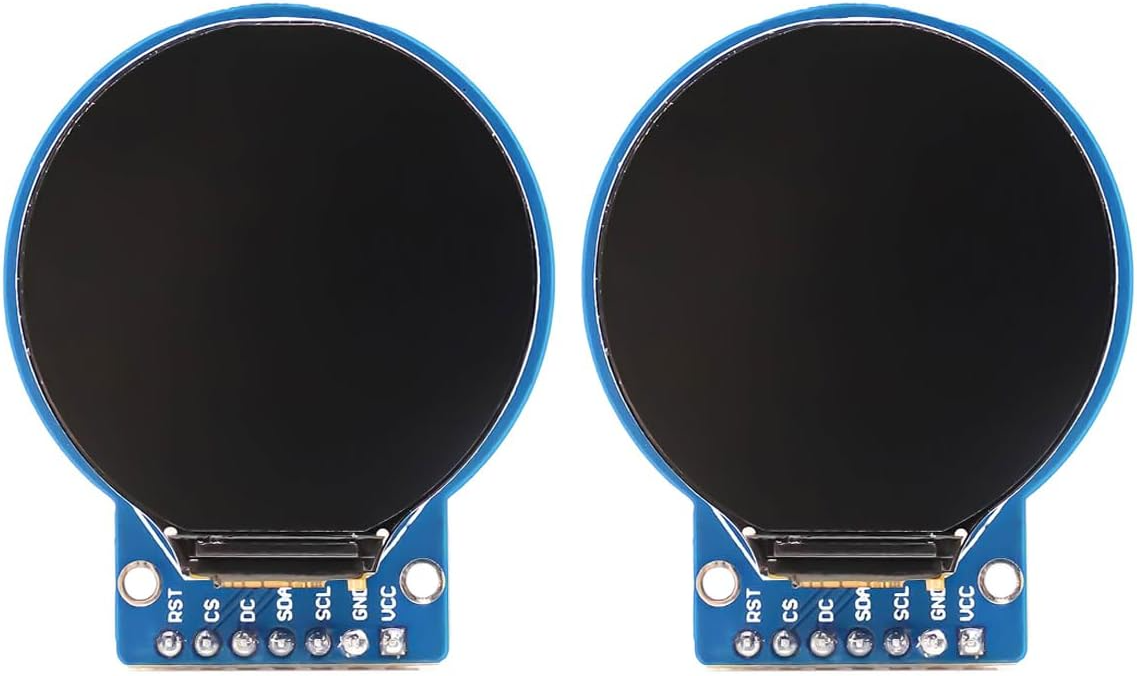 1,28 inches LCD TFT display
 Software
The software stack is just as important as the hardware. The choices here will affect both speed and ease of development.
 Programming Language
The greatest of the choices: C++ or Python? Well, Python brings a faster development, but it runs slower. C++ is more complex but far more efficient.
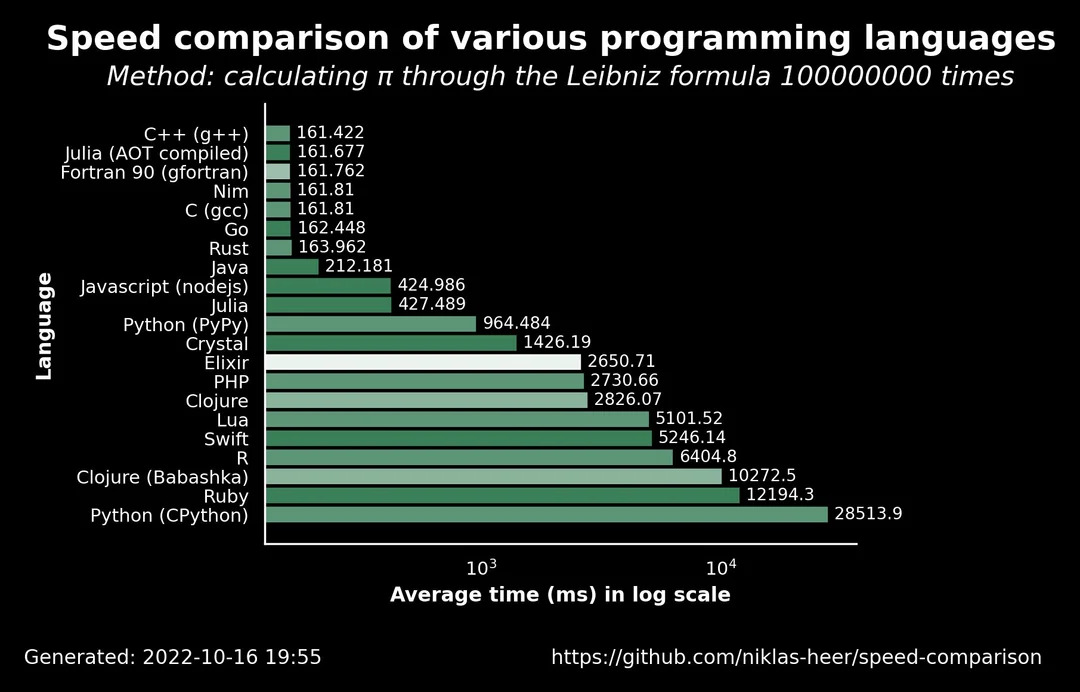 Programming language speed at specific task.
Speed is not the only factor. With Python, there’s no need for .onnx file to run a neural model. Anyway, I’ll go with C++, I would like to become stronger with that language, and with the compilation stack.
 Framework or Not Framework?
In robotics, there are several C++ frameworks that comes with their own powerful tools to perform stuffs like SLAM (Simultaneous Localization And Mapping). One of these is ROS. Everyone I heard stucks in saying that using ROS for such project is like “using a cannon to hit a glass bottle”.
Well, I’ll try a ‘pure’ C++ implementation, but using some useful libraries like:
- OpenCV for vision tasks
- ZeroMG for publisher-subscriber communication
- BehaviourTree.CPP for building behaviour trees
 Structure
For the physical structure, I’ve got several ideas. 3D printing is one of these. I’ll develop the whole 3D structure file (sorry I am beginner in such field, I’ll learn along the way) and then send it to the factory that will print it out and deliver to me the final structure.
I don’t yet know the cost, but if too expensive, I’ll look for cheaper solution.
 Prices and final considerations
In order to visualize everything compactly, follows a breakdown of the prices per component.
| Name | Price |
|---|---|
| Raspberry Pi Zero W | 15€ |
| 2 x N30 geared motor | 2€ |
| 4 x N30 plastic tire | 5€ |
| pressure sensor | 1€ |
| camera sensor | 2€ |
| omnidirection microphone | 1€ |
| horn speaker | 1€ |
| 2 x TFT rounded display | 16€ |
| 3D printed robot structure | $x$€ |
| wires, screws, bridges, … | $y$€ |
| total | 43 + $x$ + $y$ € |
Considering that I’m new to the electronic field, prices may be inflated due to unexperience, like selecting overpriced stores or parts. Moreover, the double rounded LCD setup makes the overall price increase.
However, that’s part of the journey, I’m still learning! ![]()
If you have any tips, reach me out, I’ll be super happy to hear your opinions and suggestions! I’ve just implemented the comment section; however, you can reach me using also using the email in the homepage.
See you next week ![]()